

DIY Solar Power Cost Calculator
Calculate the estimated cost and components needed for your DIY solar power system. Choose a preset configuration or customize your own based on daily energy needs.
The sun pours enough energy onto the Earth in one hour to power the entire planet for a year. Yet, for most homeowners, harnessing that power feels like a closed club—one where the entry fee is a hefty contract with a solar installation company, and the jargon sounds like a foreign language.
You’ve likely received a quote from a professional installer only to be baffled by the expenses and technical details. Or perhaps you live far from the grid and want to take control of your energy future. If you are a homeowner, a hobby farmer, or a small business owner looking to slash running costs, you’ve likely realized that going solar is smart—but paying someone else to do it is expensive.
Enter the realm of DIY solar. This isn’t merely about slapping panels on a roof; it’s about obtaining your energy independence. This guide will help you through everything you need to know to design and install your own system safely and legally, saving thousands of dollars in the process.
Here are some solar energy DIY tips for beginners and experts alike:
Understanding the Basics: How Solar Really Works
Before you climb a ladder or buy a single panel, you must understand the anatomy of a solar setup. When we talk about diy solar, we are usually referring to a grid-tied system (connected to the utility) or an off-grid system (battery storage). Regardless of which you choose, the components are similar:
- Solar Panels (PV Modules): These capture sunlight and convert it into Direct Current (DC) electricity.
- Inverter: This is the brain of the operation. It converts DC electricity into Alternating Current (AC), which is what your household appliances use.
- Mounting Hardware: The racks and rails that secure panels to your roof or the ground.
- Disconnect Switches: Safety gear that allows you to shut off power from the system for maintenance.
- The Meter (Grid-Tied): This runs backward when you generate excess power, earning you credits (Net Metering).
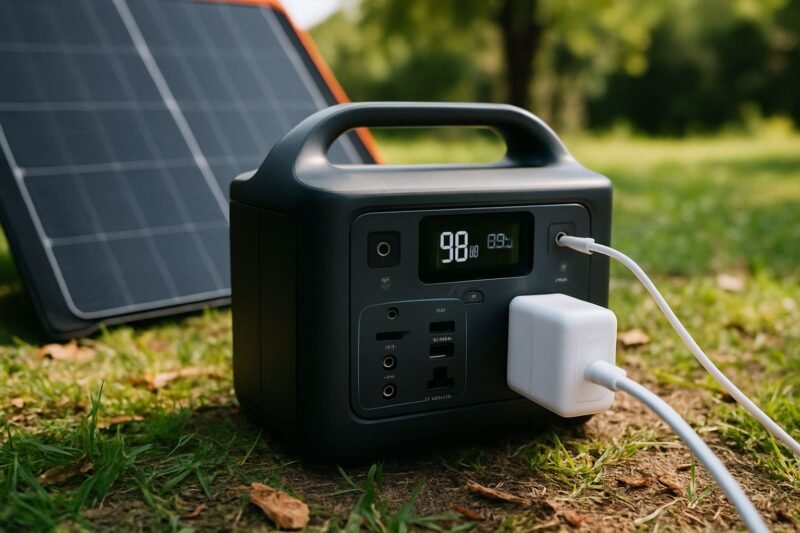
- Batteries (Off-Grid): Store excess energy for use at night or during cloudy days.
Key Considerations Before You Buy
Jumping into a solar project without preparation is a recipe for frustration. Here are the critical factors to weigh before you order equipment.
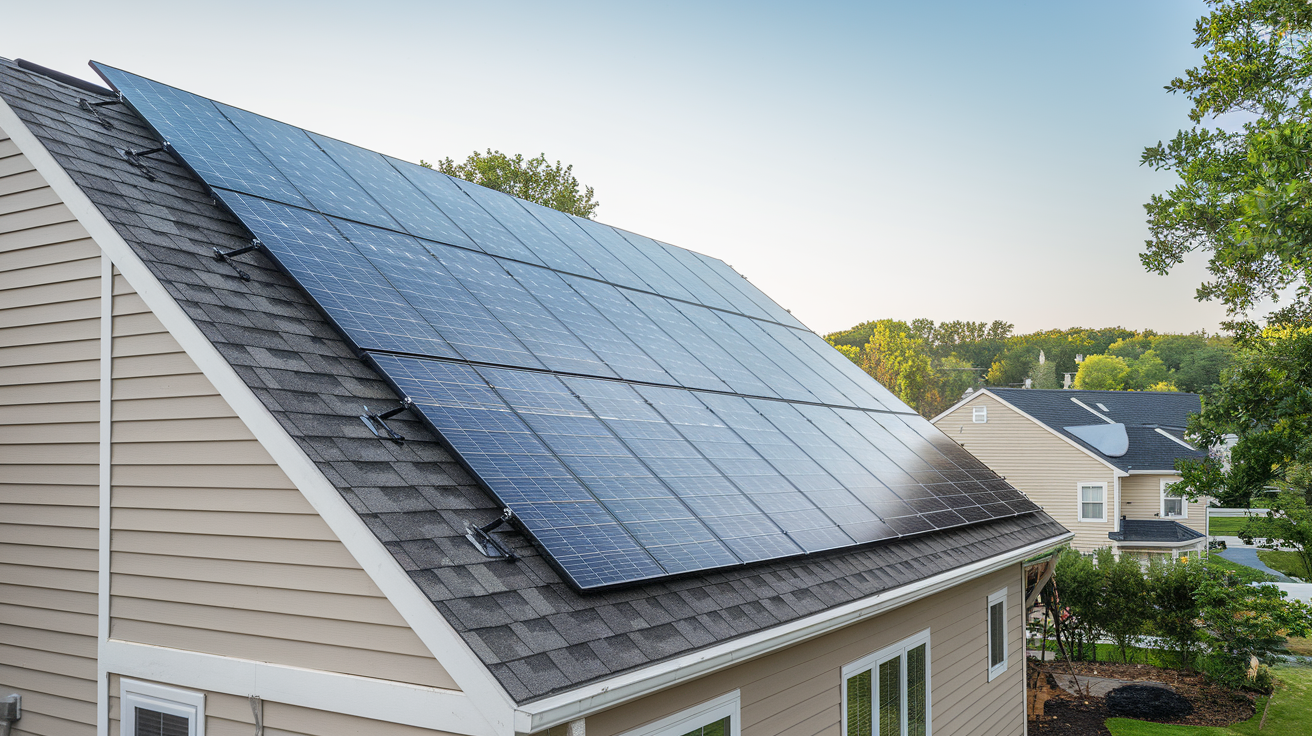
1. Is Your Home a Good Candidate?
Not every roof is built for solar.
- Orientation: In the Northern Hemisphere, south-facing roofs are ideal. East and West work, but you lose efficiency.
- Shading: Do you have big trees? Even partial shade on one panel can drag down the performance of your entire string.
- Roof Condition: If your roof is 15 years old, replace it before installing panels. Taking panels off to reroof later is a costly nightmare.
2. The Financial Reality: Upfront Costs vs. Prolonged Savings
The biggest pain point for most homeowners is the cost. While professional installs can run $20,000-$30,000, a DIY system eliminates labor (often 50% of the cost). You are still looking at a significant hardware investment, but the payoff comes much faster.
3. Navigating Permits and Codes (The Boring although Essential Part)
This is where many enthusiastic DIYers hit a wall. You cannot just wire solar into your breaker box. You must pull a permit from your local building department.
- Building Permit: Ensures your roof can handle the weight.
- Electrical Permit: Ensures your wiring meets the National Electrical Code (NEC).
- Utility Approval: Your power company must approve the interconnection before you flip the switch.
Disclaimer: I am an affiliate marketer, not an electrician. This content is for educational purposes. Always consult local authorities and licensed professionals for permits and safety compliance
Step-by-Step Guide to Your DIY Solar Installation
Ready to get started? Here is the roadmap to a successful installation.
Step 1: Calculate Your Load (The Math)
Grab your electricity bills from the last 12 months. Find your average kilowatt-hour (kWh) usage per day. This number dictates how big your system needs to be.
Step 2: Design Your System & Shop for Components
Now that you know your size, you can design the layout. How many panels fit on your roof? Where will the inverter go? This is the perfect time to source high-quality components at competitive prices.
Ready to start building? Click here to browse top-rated solar panel kits that match your exact wattage needs
Step 3: Install the Racking
Safety first! Set up your scaffolding and safety harness. The racking system is bolted into your roof rafters. This must be done precisely to prevent leaks. Apply flashing and sealant under each mounting foot.
Step 4: Mount the Panels
With the rails up, it’s time to place the panels. Panels usually clamp onto the rails. This is the satisfying part where you finally see your project taking shape.
Step 5: The Electrical Wiring
This is the heart of the project. You will run conduit from the panels down to your inverter. The inverter then connects to a new breaker in your main panel.
- DC Side: Wiring panels in series/parallel to achieve the correct voltage.
- AC Side: Wiring the inverter output to the breaker panel.
Step 6: Inspection and Interconnection
Never energize the system until the inspector has signed off. Once approved, you call the utility company, they install a new bi-directional meter, and you are live.
Expert Tips for a Smooth DIY Journey
To ensure your project doesn’t become a lesson in failure, keep these pro tips in mind.
- Microinverters vs. String Inverters: If your roof has any shading, spend the extra money on microinverters. They allow each panel to operate independently, so a shaded panel doesn’t cripple the whole array.
- Buy Extra Connectors: MC4 connectors (the solar industry standard) are finicky. Buy a proper crimping tool and a few extra connectors. A bad crimp causes resistance and fire risk.
- The Conduit Run: Plan your conduit path to be as short as possible. Long runs of DC wire require thicker (and more expensive) gauge wire to prevent voltage drop.
Common Mistakes to Avoid
Learning from others’ mistakes is cheaper than making them yourself.
- Mistake #1: Oversizing the Inverter: Buying a massive inverter “for future expansion” is inefficient. Inverters run most efficiently when they are near their maximum capacity. A massively oversized inverter will waste power during low production times.
- Mistake #2: Ignoring the “Rapid Shutdown” Code: Modern electrical codes require “rapid shutdown” switches on the roof so firefighters can ensure the panels aren’t live. Forgetting this will cause you to fail inspection.
- Mistake #3: Skimping on the Flashing: If you use cheap mastic sealant instead of proper metal flashing under your roof mounts, you will have a leak within two years. Do it right the first time.
- Mistake #4: Going Too Cheap on Batteries (Off-Grid): If you are going off-grid, your battery bank is your lifeline. Buying cheap, refurbished batteries will leave you in the dark on day one. Invest in quality lithium iron phosphate (LiFePO4) for longevity.
Make sure to protect your investment. Upgrade your system with a premium battery storage solution designed for maximum lifespan. [Explore Battery Options]
Conclusion
Embarking on a diy solar project is one of the most rewarding home improvements you can undertake. It allows you to bypass the confusing sales tactics of big installers, understand the flow of energy through your home, and drastically reduce your carbon footprint and electricity bills.
While the learning curve is steep—from pulling permits to crimping connectors—the financial freedom gained by cutting out the middleman is substantial. You aren’t just installing panels; you are future-proofing your property.
Remember the golden rules: Calculate your needs accurately, design meticulously, never compromise on safety equipment, and always pass inspection.
If you feel overwhelmed by the equipment choices, don’t worry—we’ve curated a list of the most reliable, inspection-ready solar components to get you started.
Take the initial step toward energy independence today. View our recommended starter kits here. [Shop DIY Solar Packages]
We hope the above-mentioned solar energy DIY tips for beginners give you the confidence to start today!
